Within this guide, you will learn how to integrate a free heat mapping tool within your NextJs-powered website. When it comes to optimizing conversions and removing friction from a funnel, user feedback is king 👑 👑👑
It is well-proven that being able to track how customers use your website in real-time will give you invaluable insights, however, a lot of folks will be put off using such tools as they do not have the budget. If you fall into this camp, this is the article for you 🔥🔥🔥
Within this article, you will learn all about a free-for-life heat mapping tool. You will learn how to install this tool within a NextJs website in under 10 minutes. You will also learn how to configure it in order to help you improve conversion on that site. If this sounds good to you, read on💥
Microsoft Clarity
Microsoft Clarity is a free heat mapping tool created by Microsoft. Released October 28th 2020 provides pretty good heat mapping capabilities, and the best part it is FREE! Asides from a heatmap, Clarity also provides website usage statistics, session recordings, and analytics integration.
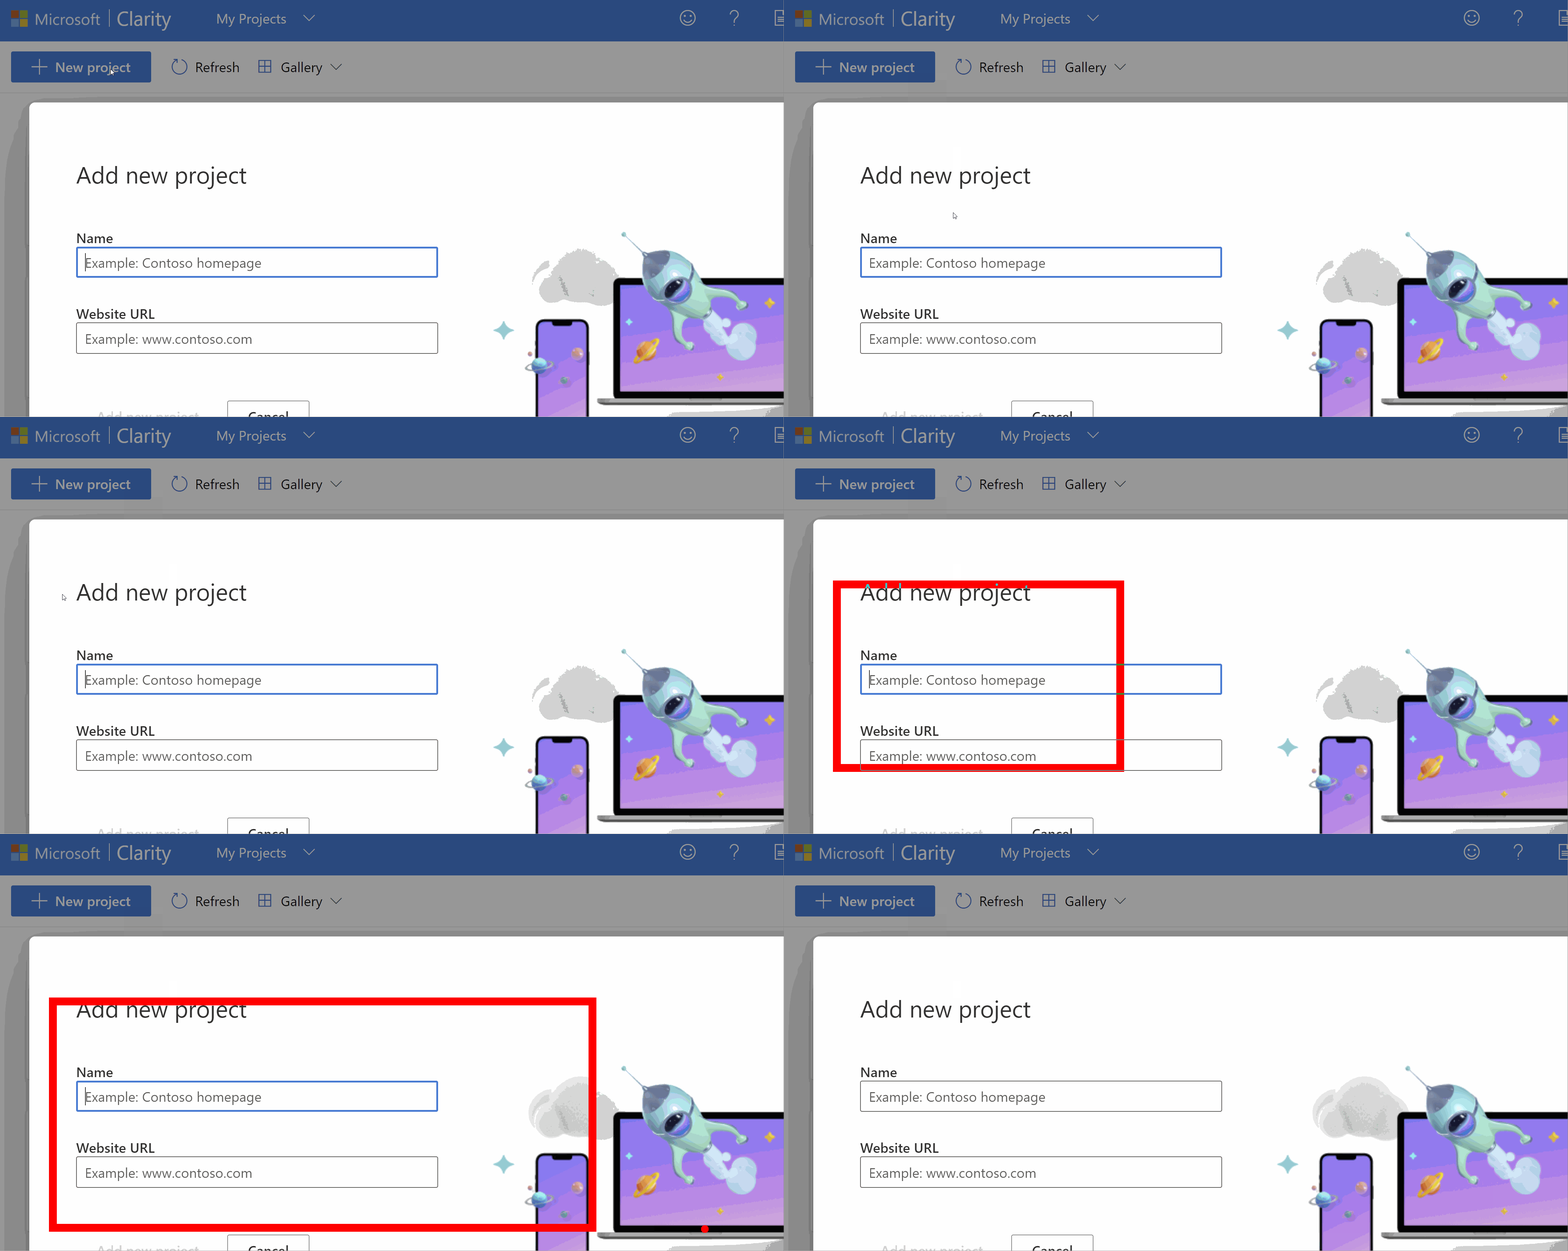
To install Microsoft Clarity head over to https://clarity.microsoft.com/, and click on the Sign-Up button. Next, create a Microsoft account if you do not already have one, otherwise use an existing account.

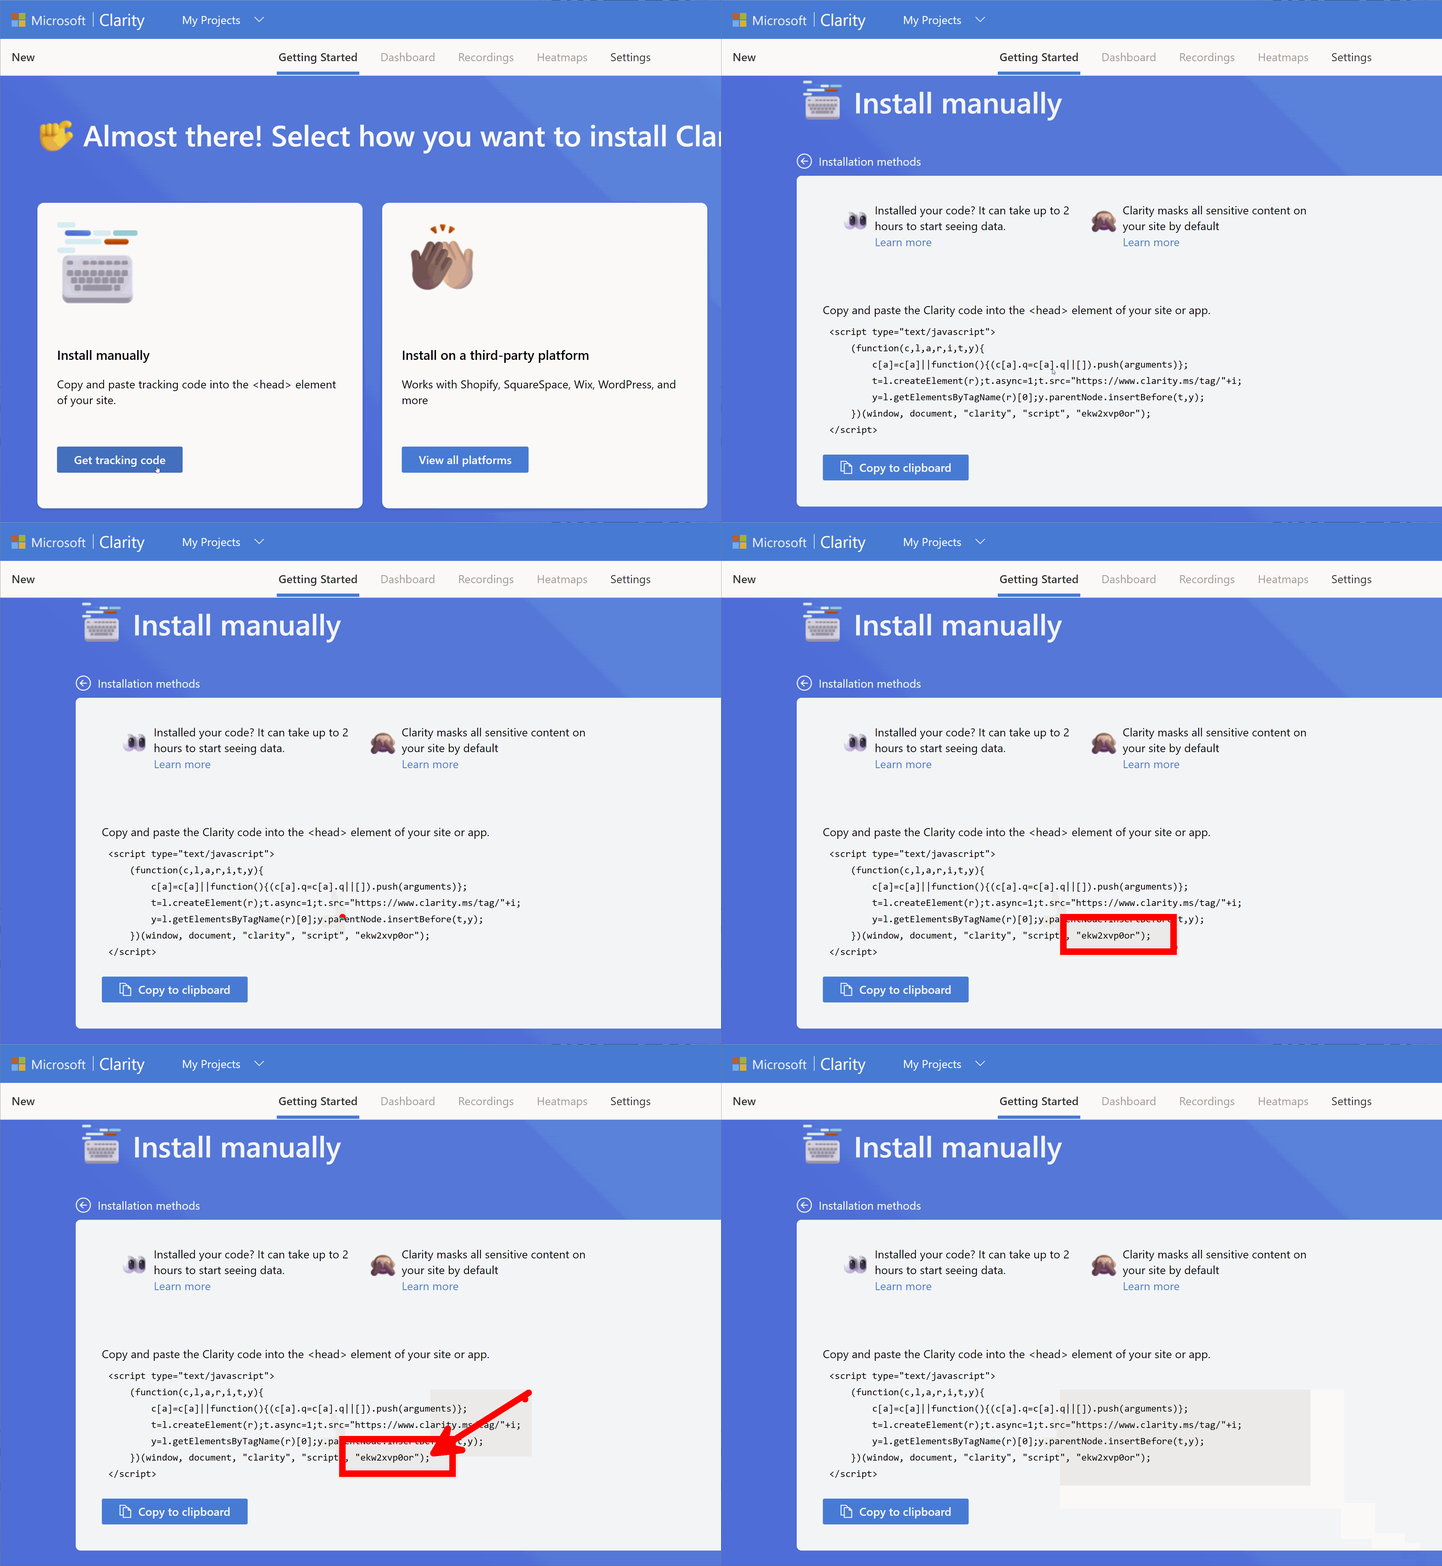
After creating an account you will be asked to install Clarity on your site. In a normal website, you would copy a Javascript snippet and install it within the head section of your website. While this is possible with NextJS using dangerouslySetInnerHTML, like this:
Instead, I recommend that you take an alternative route. Instead of copying the snippet directly, instead, make sure that you only copy the project Id:

Installing Clarity Within NextJs
Instead of adding the complete snippet into your application, an easier way to install Clarity within a NextJs application is to use react-microsoft-clarity. This package is a simple wrapper, for your application. All you need to do is install the wrapper, import it and add an Id. Doing this will result in much cleaner code! You can install the package using this command:
After installing the package, I recommend that you create a _app.js file within your NextJs pages folder. Adding code here will mean that it is triggered on each page request.
Within _app.js, you will need to add some code that looks like this:
In this code, note I have added the Clarity project Id. Another important thing to note about this code is the use of useEffect. If you do not add the init() command within this hook, you will encounter a ReferenceError: window is not defined error when the page loads.
After adding and pushing this code, after about an hour, you should start to see data coming into your Clarity dashboard!
You now have access to screen recording, heat maps and analytics. If you want to learn how this dashboard works, I recommend checking out the video above ⬆️⬆️⬆️
Clarify is just as good as, if not better, compared to some of the paid-for heat mapping products on the market. If you use NextJs and you are considering heat mapping, I recommend trailing Clarify before paying for anything (no this is not a sponsored post!).
Happy Coding 🤘

