In this tutorial, you will learn how to change the rendered HTML for any of the default Episerver CMS properties. When building a new website, if the default HTML rendered by Episerver does not meet your design, or is compatible with your CSS grid, this is not a problem. You can configure the CMS and override the default HTML for any of the default Episerver properties. Including ContentArea, Images, and XhtmlString. If you want to learn how to do this, this is the tutorial for you 🔥🔥🔥
How Are Episerver Properties Rendered?
I'm not sure if you've ever considered how the Episerver renders properties before, so let's start here. In order for Episerver to work, it relies on a number of files. These files include Javascript, CSS, images and assemblies. If you look within your webroot you will not find any of these files, so where do these mystery Episerver files live?

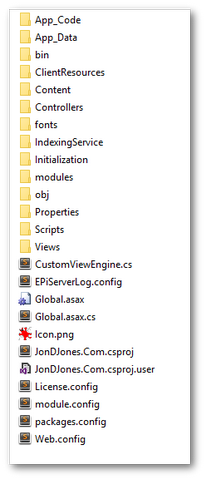
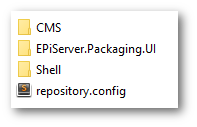
If you look within Modules ➡ _protected, you will see some interesting things:

Here you will find a number of zip files. Within this collection, you will find all of the CMS specific files. For this tutorial, the views we care about are found within a zip file named EPiServer.Cms.Shell.UI.zip. Copy EPiServer.Cms.Shell.UI.zip to somewhere on your PC and unzip it. From the extracted files and folders, look here:
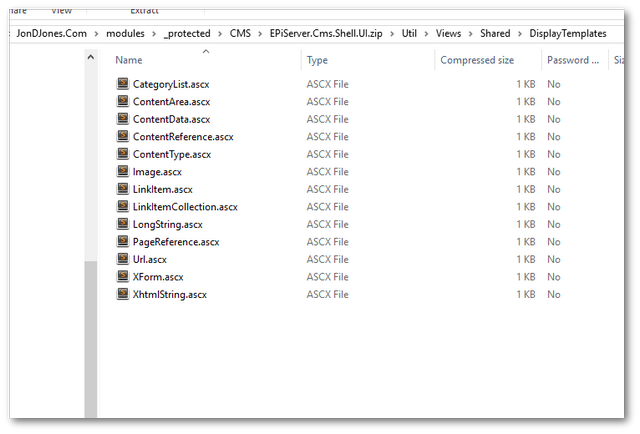
Util ➡ Views ➡ Shared ➡ Display Templates
You should see a bunch of files that look like this:

Within the Display Templates folder, you should see a list of views. The names of these views match the UIHint names for the corresponding Episerver properties that they are associated with.
Out-of-the-box, Episerver will use these views to render a property, however, it is possible to override these files 🤔
To do this, within your View folder, create a folder structure that mirrors the folder structure within EPiServer.Cms.Shell.UI.zip. Create this folder structure within your website project:
Views ➡ Shared ➡ Display Templates
To change the HTML for a default property, pick the one that you want to modify and copy the corresponding ascx file from the extracted folder into the new folder you created within your View folder . When Episerver gets a request to render that property, it will first look for a view within your View folder. If none exists, it will then use the default view within EPiServer.Cms.Shell.UI.zip. By copying any of the ascx files in this new folder, you can now override how any of the default propertiers render 👄😘👨❤️💋👨💋
Creating Custom Image HTML
To run through a quick example, if you open Image.ascx within your IDE, you will see this HTML:
For this example, let us say we want to add a watermark to all images. You could change the default HTML for the image property by deleting the original img tag and swapping it to use a custom HTML helper method that stamps a watermark on an image.
Instead of rendering a normal image on your website, you will see a watermarked image instead. Following this workflow you can change what HTML gets rendered for any Episerver project 💥
You should now be a Jedi master when it comes to overriding the HTML outputted by the default Episerver properties 🌌🔫. The process is simple to implement, however, from my experience, a lot of developers don't know that this is possible.
Understanding how the editor manages its files and dependencies is an important aspect in getting the most out of the CMS. If you have a spare 5 minutes, I would advise you to have a look at all the files and folders within the modules folder. Having a basic understanding of these files will help you to master Episerver. Happy Coding 🤘
