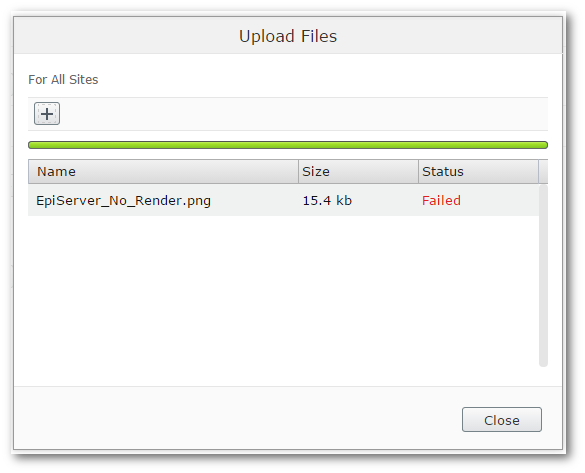
In this tutorial, you will learn how to troubleshoot image uploading within the Episerver editor. Out-of-the-box, when content editors try to upload images using the Media Library uploader, they will often see a failed upload message like this one:

This error occurs because the default Episerver settings prevent all file types from being uploaded into the CMS. Episerver leaves the decision about what content can be uploaded within the CMS up to you. Luckily, it is easy to allow images and extra file types. If you want to learn how to accomplish this, read on 🔥🔥🔥
To register the available file/media types that can be uploaded within your project, you will need to create a media descriptor. When Episerver boots-up on application start, it will scan the bin folder for any assemblies that have classes decorated with [ContentType] attribute. When it finds a class decorated with [ContentType] it registers the metadata contained within that file within the Episerver database.
To register a media type you need to create a class that inherits from MediaData. You also need to decorate the class with the MediaDescriptor attribute. This will register the allowed file types that you want to work with. The code for a media descriptor looks like this:
After you add this class to your project, compile it and re-run the CMS, the media up-loader will magically work for images!
Adding a preview thumbnail within the editor
The code above registers a generic media type that can be used to upload any file type you want. Out-of-the-box, Episerver has two additional specialized base classes, specifically for images and media. These are ImageData and VideoData. If you create a new class that inherits from ImageData, Episerver will now render a thumbnail in the user interface as well. The code to do this looks like this:
As well as defining allowed file types, we can also set other attributes about the image. The ImageDescriptor attribute can be used to define the allowed image dimensions. Useful to prevent editors from uploading extremely large images:
Create a Custom View for media files
To add an image picker to a page or block type definition, you can use this code:
To code to render an image in code is not ideal. The process involves getting the content reference of the image in a view, then using the content repository to get the URL. Adding this code everywhere you need to access an image is cumbersome. Instead of writing this code everywhere, we can create a custom display template that contains all the code and does all the hardwork for you. Creating a custom display template will make it much easier to work with images. To do this, create a folder called DisplayTemplates here:
Views ➡ Shared ➡ DisplayTemplates
To override the default image rendering, you need to create a file with the same name of the UIHint that was used in the property definition. In our case the view file need to be named Image.cshtml. In this new view add this code:
You now know why you can't upload an image by default in Episerver and how to fix the issue. You can now register any file extensions you want content editors to be able to upload/ Happy Coding 🤘
