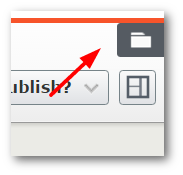
In this content editors guide, you will learn how to add media, like a video, within the Episerver editor. This series of posts will teach a content editor everything they need in order to master the Episerver editor. Content editors can add files and media into an Episerver CMS-powered website via the media library. To access this library, open the Episerver editor and in the top right-hand corner, click on the Toggle Assets panel button:

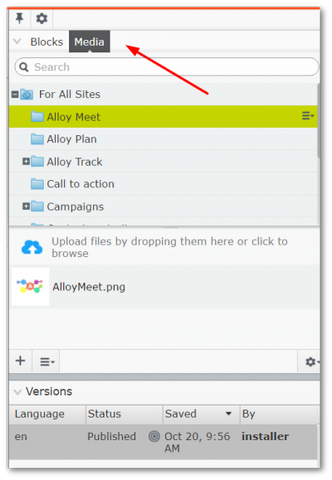
Clicking on the Toggle Assets button will cause the Assets Panel to display. To view the Media library, in the top panel in the Assets Panel, click on the Media tab. After clicking on the button, the Episerver media navigation tree should now display:

To upload new files into the editor, you can either drag the item into the media library or, click the + button at the bottom left-hand side and locate the file on your computer and upload it:

After you have your files/media within Episerver you can access the file from your pages and blocks:

One issue you need to consider when uploading files is organisation. If you upload all of your files into the same folder with no organisation, the media library will become hard to manage and you will struggle to find your files. There are different patterns and approaches that you can use to organise your folder structure. You can learn more about them here. Many content editors forget to use folders, do not fall into this trap. Every project I've seen where editors do not organise media into folders, always become a nightmare to use. Creating a folder is easy and only takes seconds, so there's really no excuse to skip it.

To create a folder within the media library, find the parent folder where you want to create your new folder. On the right-hand side of the panel, click the burger menu, so the Properties dialogue appears and select, New Folder. Job done 💥
Happy Coding 🤘
