In this tutorial, you will learn how to install Sitecore 7. Sitecore CMS is an enterprise-level CMS that offer many cool features, like analytics and cross-channel communication. It is definitely a good CMS to learn in 2016. This tutorial will take you through a step-by-step process on how to install the CMS. If you want to install Sitecore on your development machine, read on 🔥🔥🔥
Before you can install the CMS you need a license file and the Sitecore installer. If you do not know how to get these, read this tutorial. Assuming you have those bits, we can begin 💥
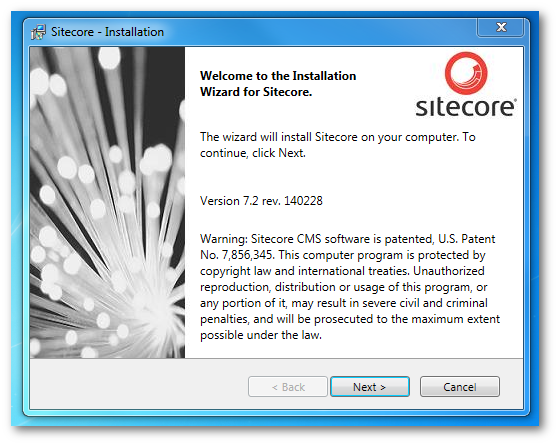
Step One: Run the Sitecore installer and you will see the first installation screen. This screen is unimportant, click the Next button:
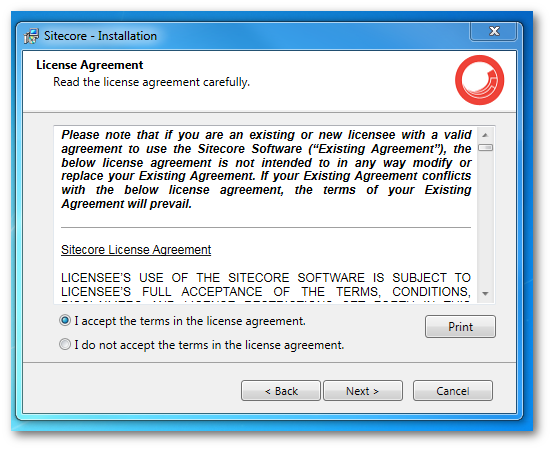
Step Two: Agree to the T&Cs and click Next:
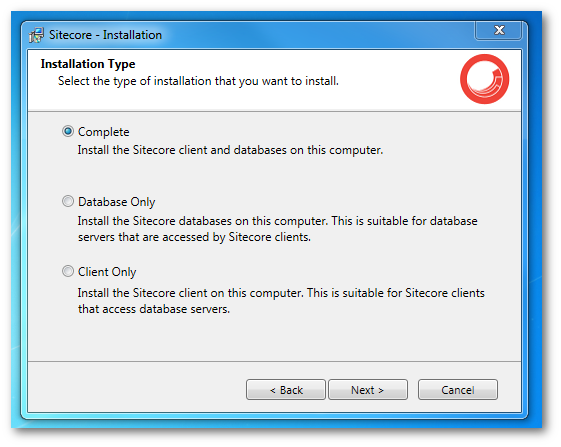
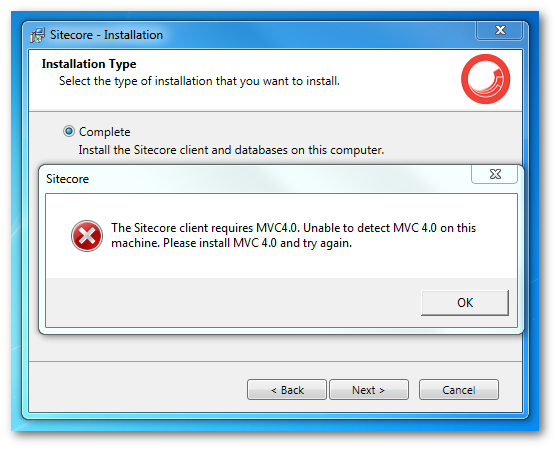
Step Three: To run Sitecore, you obviously need to have all the basic Microsoft pre-essentials installed, like IIS, ASP.NET Framework 4, and SQL server.
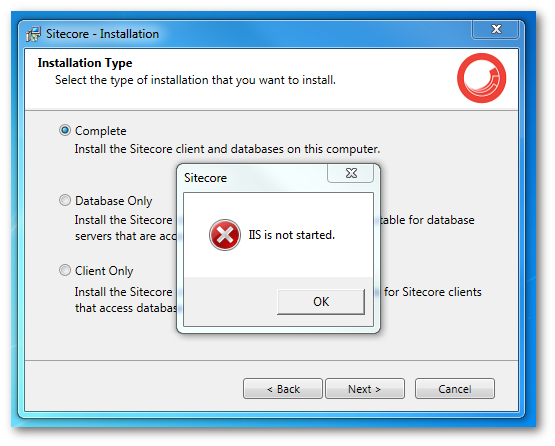
If you don't, expect to come across warnings like IIS is not Started :
Or The Sitecore client requires MVC 4.0:
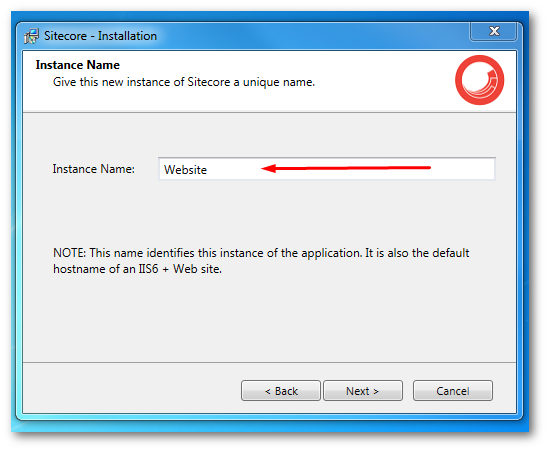
Step Four: Enter in the name you have decided to call your Sitecore instance. This value will be used as your website's hostname within IIS. This name will be used to identify the application.
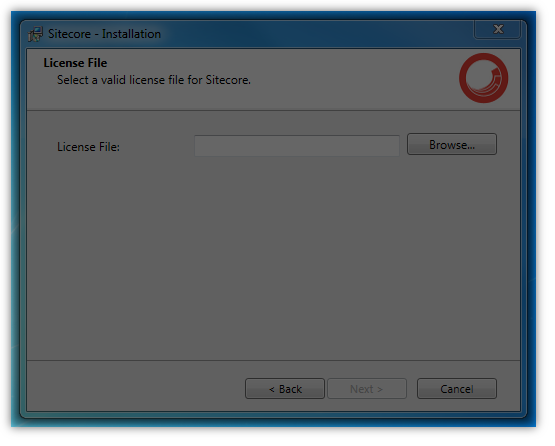
Step Five: Upload your Sitecore license file:
Step Six: Next, you'll need to add your SQL details. If you are setting up Sitecore on a new PC, I would recommend that you manually log into SQL manager with your SQL credentials to check they are correct before using them here. Make sure to enable Mixed Mode Authenciation within SQL!
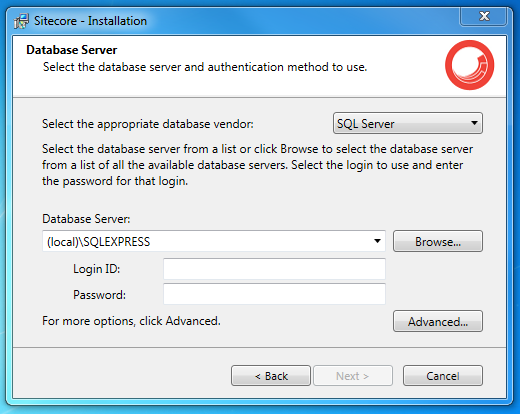
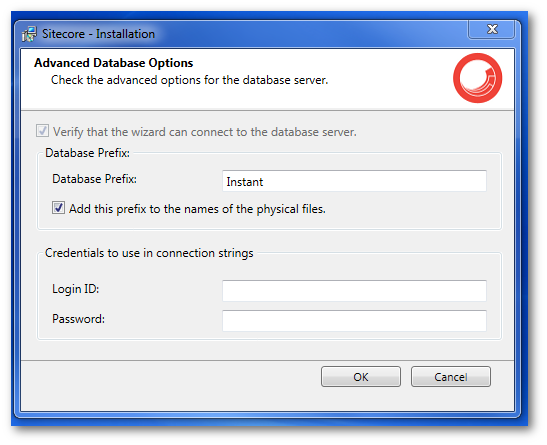
If you click the Advanced button, the only real interesting option is the database prefix. If you are using localhost and building a single website, you don't need to see this value.
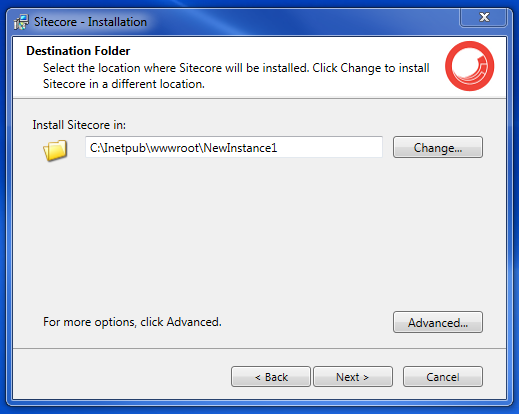
Step Seven: Now we're coming to the end of the process. It's time to tell the installer where you want your Sitecore instance to be installed:
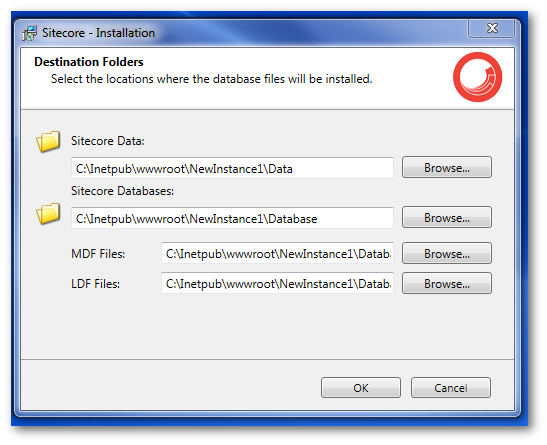
If you click the Advanced button, you can change where your databases MDF and LDF files are stored:
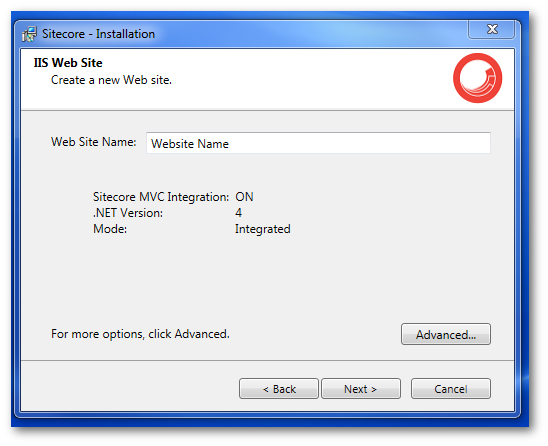
Step Eight: The last configuration is the name of the Site within Sitecore:
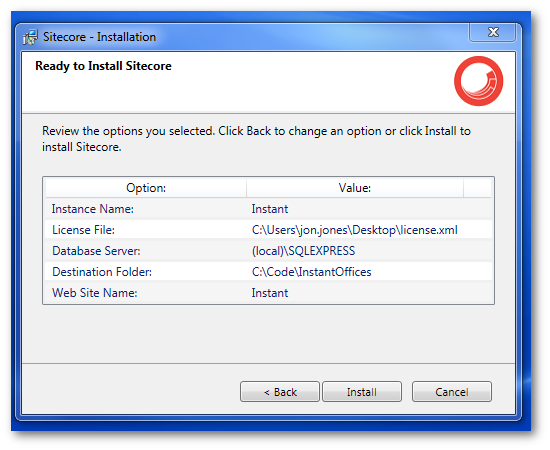
Last step!: The last screen is an overview of the details you have entered. Click the 'Next' button to install Sitecore. If everything works correctly you should have Sitecore installed 💥
The installer should have created a host entry mapping within your hosts file. Check your host file found here:
Windows ➡ System32 ➡ Drives ➡ ETC ➡ host
Trying loading the site within a browser using that hostname and the site should work 😊
Sitecore Installation Troubleshooting Tips
When I have previously installed Sitecore, I have encountered a few issues along the way. I'll cover some of the main issues I've faced:
IIS Tuned off. When you try and load Sitecore if the site fails check IIS s enabled. Sometimes the installer turns off IIS and it can not turn back on. Manually turning it on will solve the issue!
HTTP Error 500.21 - Internal Server Error Handler "PageHandlerFactory-Integrated" has a bad module "ManagedPipelineHandler" in its module list. This error will happen when ASP.NET 4 hasn't been installed correctly.
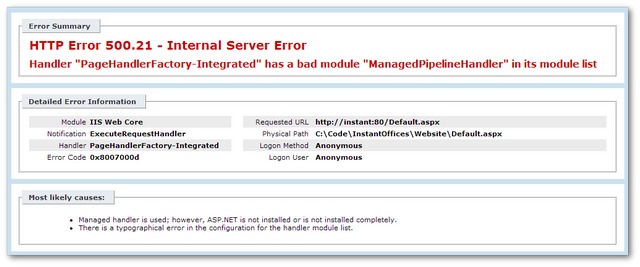
If this happens to you, you need to run this snippet from a command prompt:
You should now have a working Sitecore instance on your development machine. Happy Coding 🤘
