In this tutorial, you will learn how to install Sitecore 8 within 10 minutes. This guide is written for developers who are new to Sitecore who need some guidance on how they can get up and running with it. This tutorial will take you through a step-by-step process on how to install the CMS. If you fall into this camp, read on 🔥🔥🔥
Before you can install Sitecore 8, you need a license file and the Sitecore installer. If you do not know how to get these, read this tutorial. Assuming you have those bits, we can begin 💥
Step One: Run the Sitecore installer and you will see the first installation screen. This screen is unimportant, click the Next button:
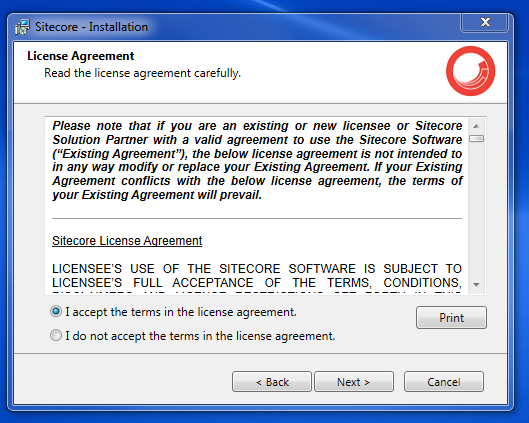
Step Two: Agree to the T&Cs and click Next:
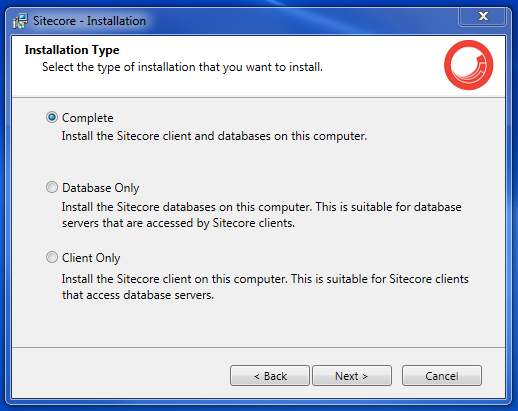
Step Three: Select your install type. For a brand new build you want to select Complete:
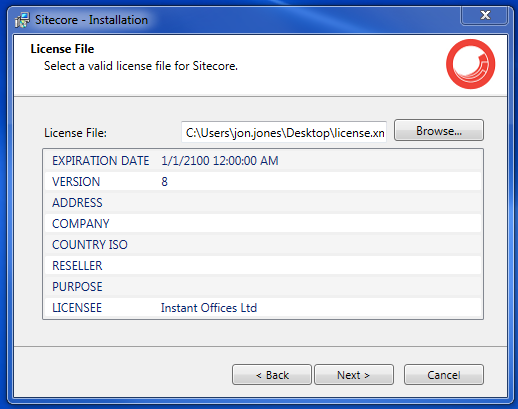
Step Four: Upload your Sitecore license file:
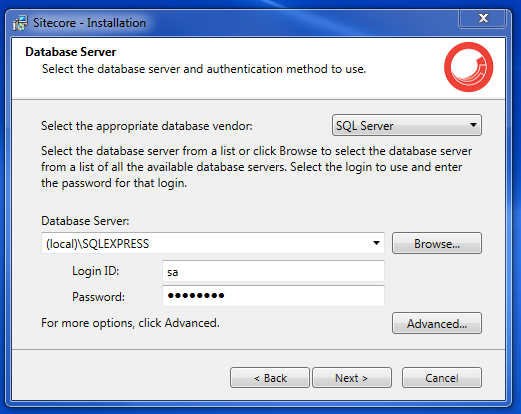
Step Six: Add your SQL server details. If you are setting up Sitecore on a new PC, I would recommend that you manually log into SQL manager with your SQL credentials to check they are correct before using them here. Make sure to enable Mixed Mode Authenciation within SQL!
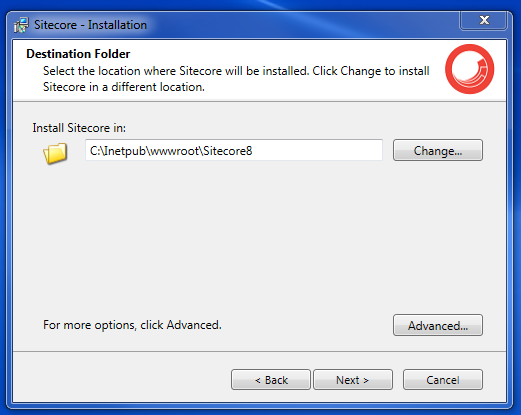
Step Seven: Add the destination where you want the Sitecore files to be installed:
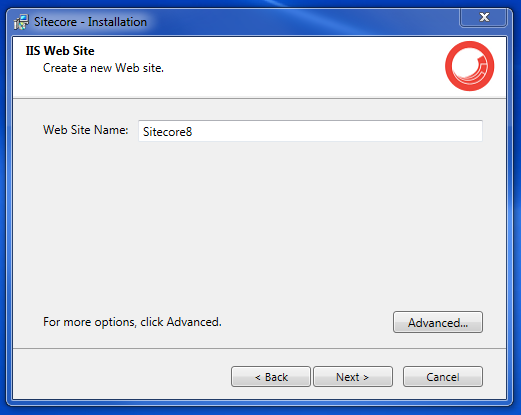
Step Eight: Add the hostname. This is the value you will use in a browser to access the site. The installer will also add an entry within your host file:
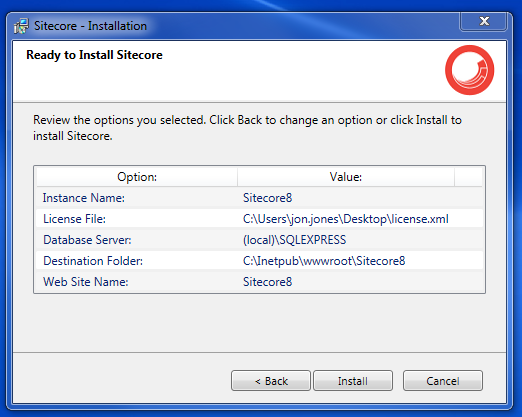
Step Eight: Sit back and relax 😎
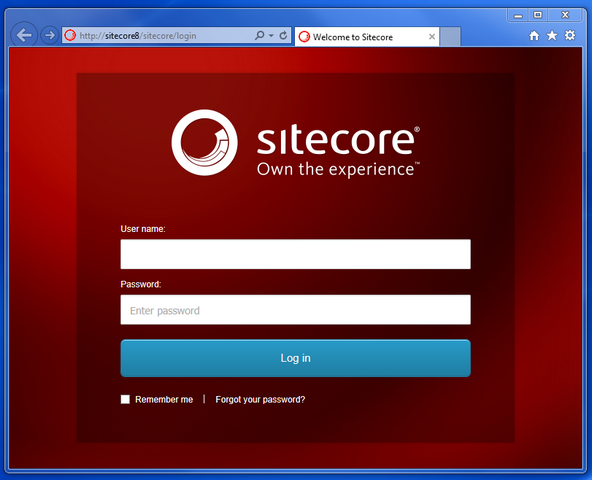
Step Nine*: When the installer has finished doing its thing, your new Sitecore 8 website should load 💥
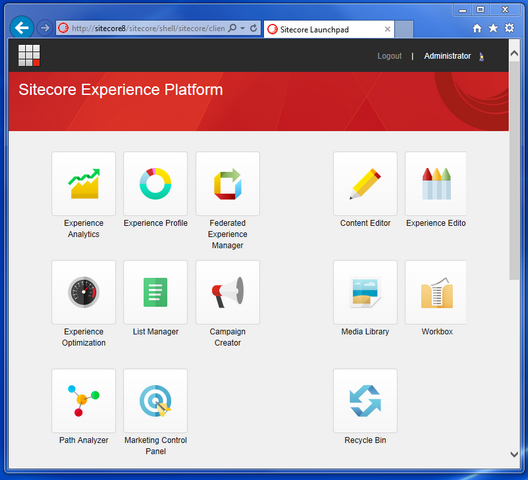
You can log into the CMS using the default credentials Admin and b🔥🔥🔥
You should now have a working Sitecore 8 website. Sitecore 8 looks a lot different compare to version 7, so enjoy the new look. Happy Coding 🤘
