In this tutorial, you will learn how to create a custom section using MVC within the Umbraco backend. Adding a custom screen into the Umbraco back-end may be necessary on a lot of projects. There are hundreds of reasons why you might want to create a custom screen within the Umbraco backend. If you use HangFire you might want to display the hangfire dashboard within the CMS, you might want to create a special unpublished page report, you might even want to create a special admin area so users can trigger APIs or clear a bespoke cache. The options are unlimited 😀😂👌❤️😍
If you want to add a custom screen within your project, in most circumstances, you will need to create a custom section in order to display HTML to the user. Adding a custom section is relatively easy, but the process does have a few surprises in store. If you ant to create a custom section, this is the tutorial for you 🔥🔥🔥
IApplication
My preferred way of creating and rendering a section within Umbraco is to use C# and MVC. This way we can write unit tests for the class. Within Umbraco it is possible to use AngularJS and Javascript to create screens. As someone how knows React and Javascript but not AngularJs, I don't want to learn another framework just to do a trivial once or twice a year task. This guide is the C# way or the highway and if you want something else, Google is your friend😊.. In order to create a custom section, you will need to create a new class that implements from IApplication like this:
Created a class and called it anything you want. Decorated the class with the [Application] attribute. The [Application]attribute expects four parameters to be supplied. The alias, the name, the icon and the sort order. I would suggest not adding spaces in the name as it can complicate things. A useful thing to note is that you usually have to add an entry in a resource file in order for the name to render correctly in the backend. If you create a section and the name in the CMS is wrapped in [] this is why! For the icon parameter, Umbraco ships with a few icons you can use. Look here for some of the inbuilt options available. After creating the class, if you compile and run the code a section will be created, however, it will not show up automatically with setting the correct permissions!
User Permissions
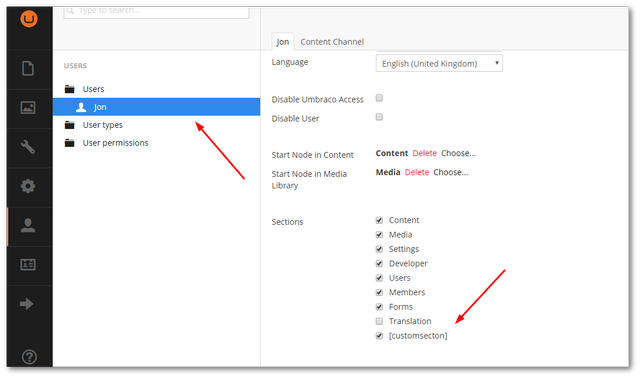
After you create a new section, you need to give your Umbraco CMS account the correct permissions before you will be able to see it. In the Umbraco backend, navigate to the user section:

Click on the user account you want to be able to access the section. Within the section area, you should be able to see your custom section listed. Enable the tickbox next to it and reload the back-end:

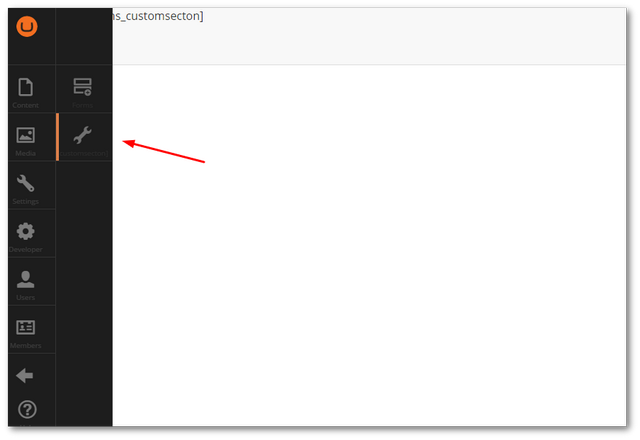
It should now load 💥
Fixing The Display Name
If you look at your section, you may notice the display text looks a bit odd. In order to fix this we will need to add this entry in the resource file. In your solution, if you look in the webroot:
Config ➡Langs
You should see a list of XML files for different languages. In my case, I'm using the UK language file. You can add the resource mapping here:
After you reload the backend, you should see a nice friendly display name 💥
You now know how to create a custom section within Umbraco. Creating a section is pretty simple, create a class that implements IApplication and is decorated with the [Application] attribute. If your section does not appear, it is probably down to incorrect CMS user permissions.
If you want to take this tutorial one step further and display a custom MVC view within the backend, I suggest you read, How To Display an MVC View In The Umbraco Backend. Happy Coding 🤘
