In this tutorial, you will learn how to easily enable a 404 page within a Umbraco CMS powered website. An important and easy to forget task on any website build is to create a good looking 404 page. If you have decided to use Umbraco CMS to power you website, luckily, enabling a 404 page is pretty easy and pain free. In this tutorial, you will learn all the steps to make it happen. If you want to create a 404 page, read on 🔥🔥🔥
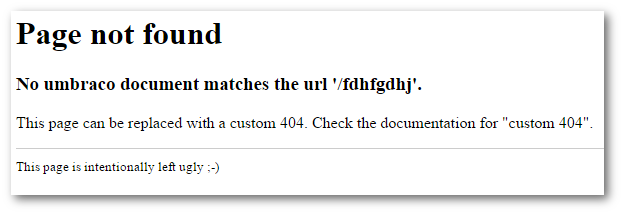
First, if you try running your Umbraco website and typing any old rubbish as the Url, you should see this error page.

That is pretty ugly and you wouldn't want to use that in production. First, you will want to create the page in Umbraco so the content can be updated, and secondly, you don't want your website looking like dog shit, In this guide, I'm going to use a generic content page as my 404 pages. In the real world, you may use a standard content page for your 404 design, or you could create your own 404 document types and templates.

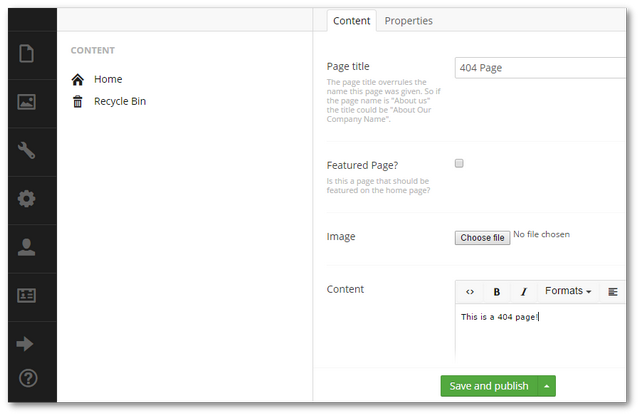
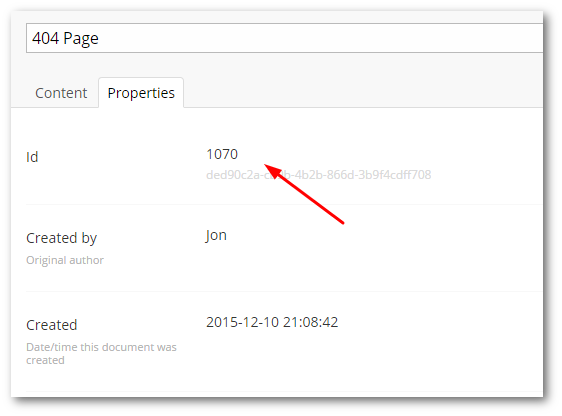
Open your Umbraco back-end, go to the Content section, create a new page and call it 404, add any content you want and click on the Save and Publish button. Next, go to the 'Properties' tab for the page and go to the PageId section.

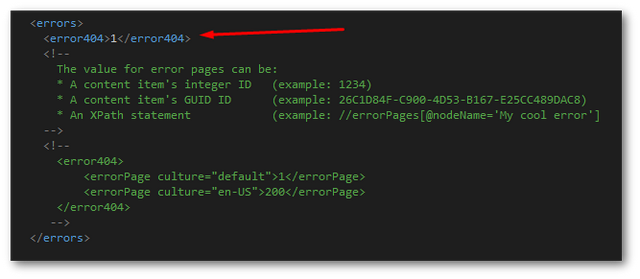
Now in Visual Studio, open up the Config folder, umbracoSettings.config file. The first thing you should see is a section called 404, like so:

In the 404 config element, add the page id we created earlier, in my case, this would look like this:
This example is configuring a 404 using a single language. Within Umbraco, it is also possible to use different 404 pages per language variation that you enable within your project. Within umbracoSettings.config, you can see the multi-language commented-out examples. From here, you can see an example with a culture tag culture="en-US". To set a default 404 page within a multi-lingual website, you add culture="default" to the main 404 element. For any other language, simply add in the culture you want. With the 404 confused, you should see your error page displayed when a not found request is made 💥
If you are still having issues, fear not as you may have one bit of configuration left. With IIS 7.5+ you may need to add an additional line into your sites web.config before the redirect will work. Simply, add in this value within system.webServer:
That's all there is to it 😊
Happy Coding 🤘
