In this tutorial, you will learn how to reinstall your Umbraco database to a clean instance so you can start running your website from scratch. When building a new website, a lot of trial and error can be involved. Until we find the best solution that meets the client's needs, we might hack away within the Umbraco backend trying to make something work. In this process of experimentation, it's very easy to break a database, add unneeded document types etc.. Trying to fix a broken development site can often take longer than starting from scratch. If you find yourself in this situation, read on ️🔥️🔥️🔥
Rebuilding a site can be quick, especially if you use a package like uSync. uSync can recreate all your document types when a site launches. This means you can delete your old database, create a new one and rebuild your website to get it back into a working state quickly and painfree. Reinstalling your Umbraco website is surprisingly easy. Just to note, I'm going to assume that you are using SQL manager (SSMS).
First, in your SQL server, create a blank database and name it whatever you want. In the sites web.config file, clear out your connection string settings, so it looks like this:
For V8, in appSettings make sure umbracoConfigurationStatusis empty as well, like this:
In V7, you do this:
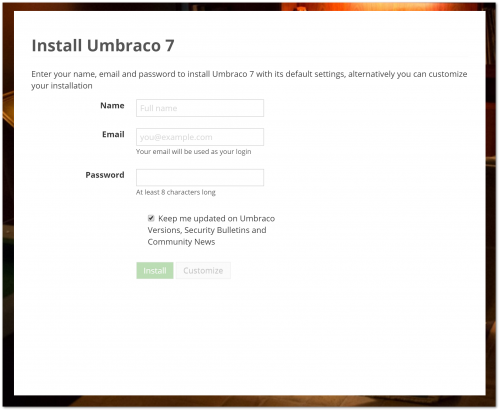
After making these changes, if you try to load Umbraco again, you should now be presented with the installation screen again.

Run through the process of installing Umbraco and use the new database you created. Assuming you have uSync setup correctly when the site launches all the content will be re-installed. You have now reverted your site to its last good known state! Happy Coding 🤘
