In this content editors guide, you will learn how to add a block within the Episerver editor. This series of posts will teach a content editor everything they need in order to master the Episerver editor. If you are new to Episerver, blocks are very powerful. Blocks will allow you to design and tweak how the page layout looks. in the old days of CMS development, if a marketer wanted to change the page layout they would likely need a developer to change it in code. Blocks will give you as a content editor, a lot more power... but at the cost of having a bit more to learn. If you want to learn the steps to add a block into an Episerver CMS page, read one 🔥🔥🔥
Blocks are added into pages via something called a ContentArea. Within the editor you will know when you encounter a content area as it will look like this:

The ContentAread property will contain the test, `You can drop content here, or create a new block. If you come across this property within your templates, you will be able to add components onto that page yourself. There are two ways you can add new components to a page.
Via The Content Area: The quickest option to create a block is to click on the create a new block link inside of the content area. This will open up the New Block screen, which will look like this:
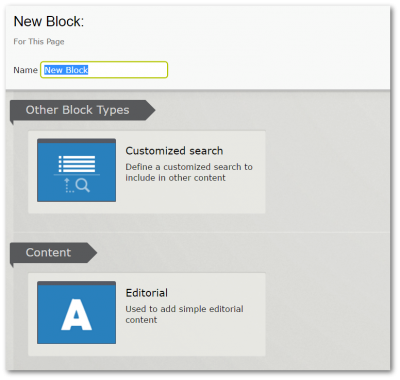
The blocks that are avilable for you to create, will vary based on your website. To add a new block, click on the one you want to create:
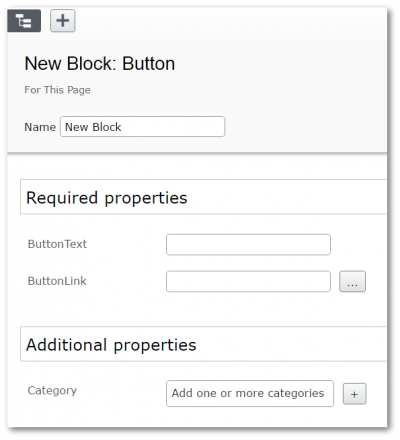
The properties you can associate against a block will be custom to your website. For every block you will have to give it a name. When you have finished adding all the content, click the Create button in the top right-hand corner:

You have now added a block onto the page. As you have changed the content of the page, if you want the updates to appear on your website you need to publish the page
Via The Block Library: You can also add existing blocks into ContentAreas. Reusing existing blocks will save you from having to write the same content multiple times and its a habit that I recommend you adopt. To view all the existing blocks in your website, you can look in the block library. You can access the library from the top right-hand side of the editor. You should see the assets panel button:
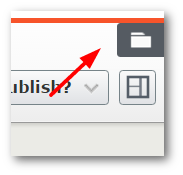
Click on it, to expand the Assets Panel:
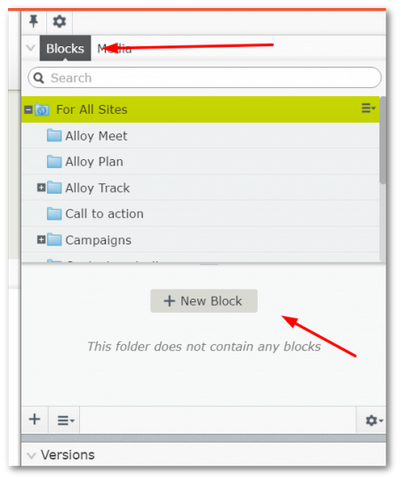
Within the Assets Panel, you should see a section called Blocks. From the Blocks panel, you can browse all the existing blocks that have been created on your website. You can navigate the block library the same way you would browse your web pages within the content tree. If you want to use an existing block on a page, drag it from the library onto your content area.
If you want to create a new block from within the block library this is also possible. Click on the New Block button as shown above. This will create a new block under the page you have selected. Personally, I always add new blocks via a content area, as it is quicker, however, this can be a handy trick to have in your toolkit.
Happy Coding 🤘
