This tutorial is for content editors. In it, you will learn how to publish content within the Episerver CMS editor. Episerver has several options when it comes to saving and publishing content on your website. Read on to learn what they are and how you can take advantage of them 😊
Auto-Saving
For everyday content editing, Episerver's auto-save function will ensure that you don't lose any of your work. Auto-saving is great to prevent content loss. Speaking from experience, re-write content is painful. If your web browser crashes while you’re still in the process of editing, you want a mechanism to ensure you don't lose work. Luckily, Episerver CMS has your back:
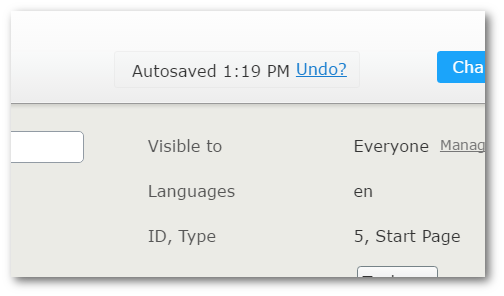
You will not need to do anything for the auto-save to kick in. The auto-save will save the current page state so you can return to the page later and edit it. As you make changes you should see the 'Auto-save' message at the top of the page appear.
Preview
In the editor, it is possible to preview how the end page will look at any time. The location of the preview button might not be as obvious as some of the other buttons, as can be seen below:
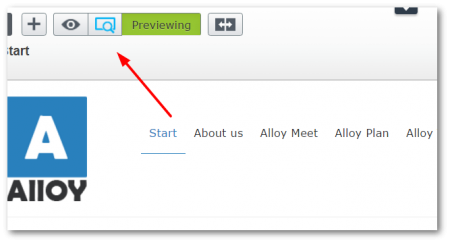
Clicking on the Preview button does what you expect it to. It will show you how the page will look once published.
Publishing
When your page is ready to be displayed on your website, you will need to publish it. When you publish a page, it will appear on your website immediately. The publishing area can be seen on the top right-hand side within the page's main content view.
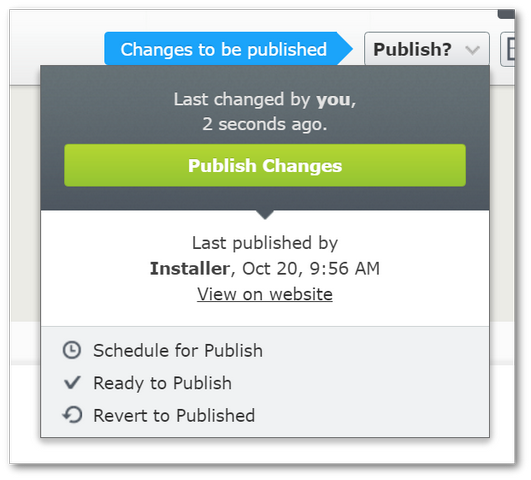
A big blue button will appear when you have changes that have yet to be published on the website. Clicking on the Publishbutton will reveal a bigger 'Publish Changes' area. Clicking on Publish Changes will publish the page.
Scheduled Publishing
Scheduled publishing is ideal when you need a page to go live at a specific date in the future. One common example of content that needs scheduling are news articles and press releases. You might write the content on a weekday and scheduled it to go live on the weekend. No one wants to work weekends, so this is where the scheduler can help 😍
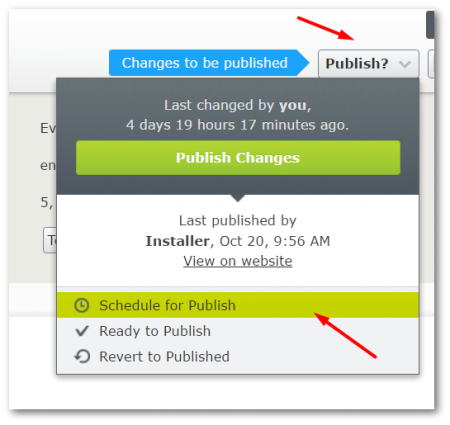
Schedule a page to be published is very similar to normal publishing. In the 'Publish' section on the top right-hand side, select the 'Schedule for Publish' option.
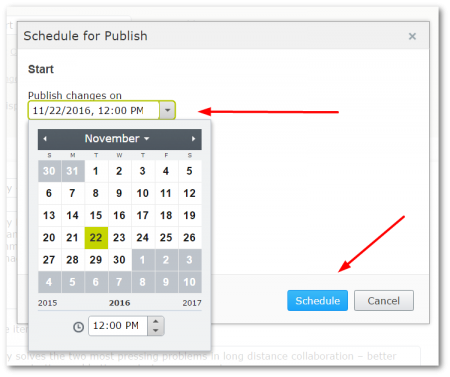
This will launch the 'Schedule Publish' dialogue. From here you can specify a date for Episerver to publish your changes. After you select a date, press the 'Schedule' button and sit back and let Episerver do the hard work for you. Episerver will now automatically publish the page at the date and the time you chose.
These are the main ways you can save and publish content in Episerver. If you want to publish multiple changes at the same time, you should check out the Episerver projects feature. Happy Coding 🤘
