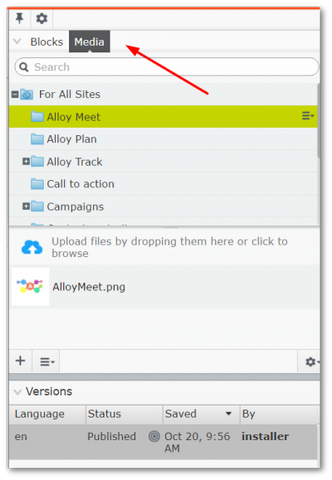
In this content editors guide, you will learn how to add images to pages and blocks within the Episerver editor. This series of posts will teach a content editor everything they need in order to master the Episerver editor. To add images on a page, content editors must upload images into the Episerver assets library. Within the asset library you will find the media section:
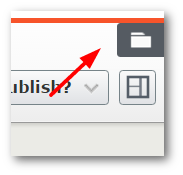
You can access this library, by clicking on the Toggle Assets panel button, located in the top right-hand corner of the editor:
Clicking on the Toggle Assets button will cause the Assets Panel to display. To view the Media library, in the top panel, click on the Media tab. From this library, you can see all images and videos that have been uploaded to your website.
Episerver allows any media type to be uploaded into the CMS, however, it needs to be explicitly allowed. If you try to upload some media and you encounter an error, contact your IT department and ask them to allow it. When uploading assets, it is a good practice to create specific folders for your content. I do not recommend just plonking all your media in the All Sites folder with no organisation. Uploading everything within a single folder will clutter the library and make it much harder to find the assets later on. Creating folders will not only help you find images in the future quicker, it can also make the website work faster!
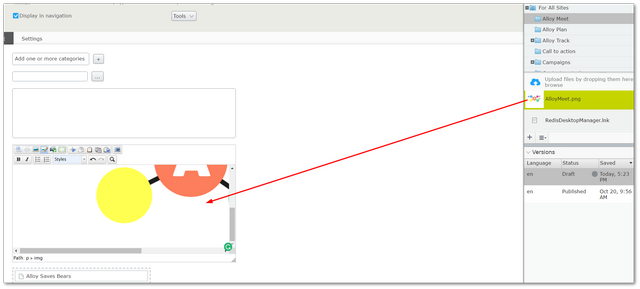
Adding Images In RichText: One way to add an image to a web page is to drag an asset from the Media library into a rich text area.
A second way to add images incode of a rich text area, is to use the image picker from the rich text panel.
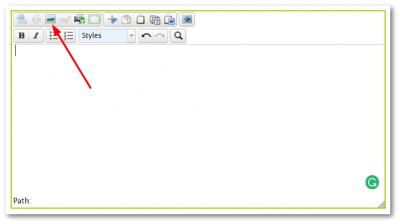
Click on the image button as highlighted above.
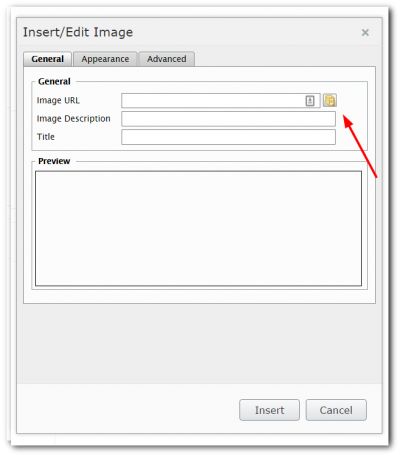
In the image URL section, click the server icon:
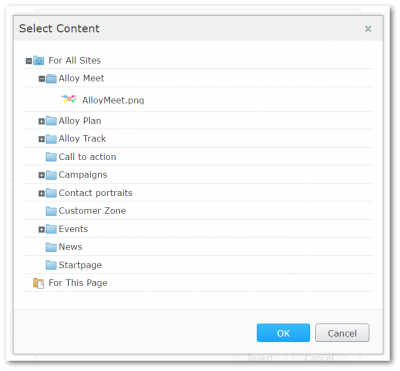
This will launch the media library. Find the image you want to insert, select it and then click the 'OK' button.
Alt Text: When you add images to your page do not forget to add an image alt tag. A lot of editors tend to skip this step as they do not see the value in it. Do not fall into this trap. An image description makes it easier for search engine crawlers to understand your page. This will help your web pages to rank higher in search engines, boosting your SEO scores 😊
That covers the basics of adding and finding assets within the Episerver editor. Happy Coding 🤘
