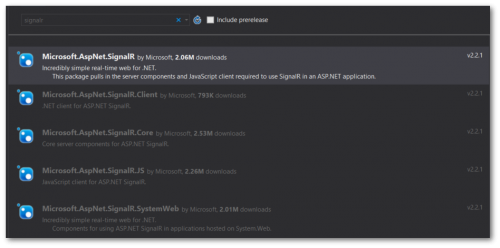
In today's tutorial, you will learn how to install SignalR with Episerver. SignalR is a way to perform web socket operations in a .NET powered website. SignalR is the most popular framework to do this type of async work so well done you have made a good choice 😊. First, you need to install two Nuget packages, right-click on your solution, select Manage Nuget Packages for a solution...', from your search type in SignalR
You will also need to install, Microsoft.Owin.Host.SystemWeb:

To enable SignalR within your application, you will need to register it. In your solution, if you do not have a startup.cs file then you will need to create one. To create a startup class, you need to decorate it with the OwinStartup attribute, as seen below:
It is within this class that you will need to register SignalR. This is done in the code above on Line 14, app.MapSignalR();. This startup class won't fire unless you tell your application to use it. This is done within the web.config. Make sure you have the following app setting otherwise the class won't fire on start-up and SignalR will not register!
That is all the configuration that is required to install SignalR. Using it is also just as easy. To create a socket-based communication, you'll need to create a Hub class:
This is the basic skeleton code that you need to get up and running with SignalR. The next step is to start adding custom logic into the hub and then using the SignalR Javascript library to register the client with the server so it can push and pull messages from the server:
Add the following Javascript into your HTML in order for SignalR to work within your application. This also assumes you are rendering your site using C# and MVC and not a ReactJs application! Short and simple. That covers the basics of how to get SignalR working on your site. Obviously, the business logic will be a lot more complex, however, getting the communication server up and running is simple. Happy Coding 🤘
