In today's tutorial, you will learn how to create a mega-menu within Umbraco v7 or v8. A mega-menu is a more advanced menu that not only contains links to other pages but also contains sun-menus and images. On most projects I build nowadays, I usually end up creating a variation of a mega menu. To build these types of menus, there is a fairly standard CMS pattern that can be used. In this tutorial, you will learn more about this pattern and how you can apply it within Umbraco CMS 🔥🔥🔥
To build the menu I'll also be using uSiteBuilder. You do not need to use uSiteBuilder to build a mega-menu in Umbraco. uSiteBuilder will allow you to do code first content modelling within Umbraco. If you want to know how to use uSitebuilder I have written this guide, here .
Umbraco Vs A MegaMenu
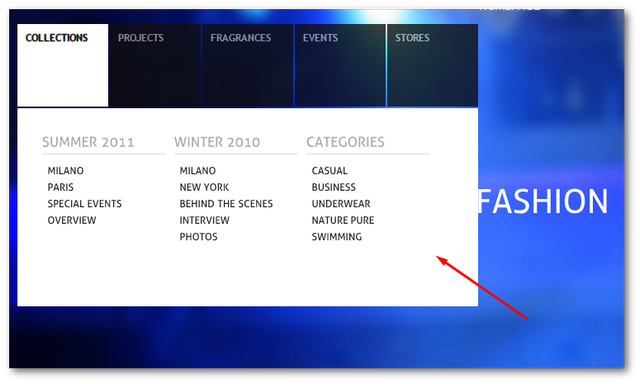
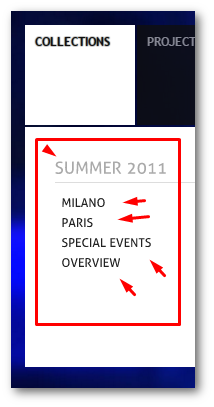
The mega-menu that we are going to create will look like this:
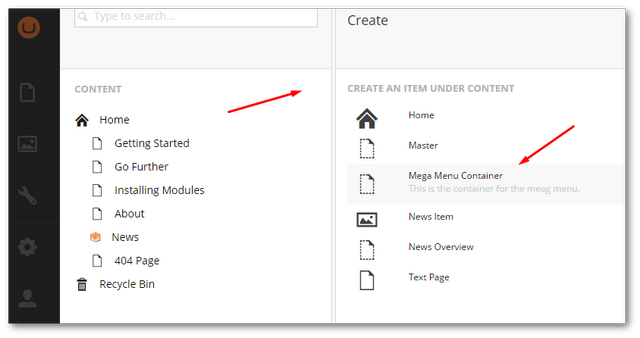
The Menu Container: In Umbraco, there is no out-of-the-box way to store global settings. As you will need some data to build a menu, you will first need a way of adding the meta-data required to render the menu within the CMS. We will do this by creating a special area in the CMS just for menu data. We will build this area by creating a container document-type that we can use as a placeholder to create a menu underneath it. This container page will not be displayed on our website, it will live on the same hierarchy level as the homepage in our CMS content tree. The code to create this document type will look like this:
The code is simple, the document type doesn't need any properties. All we really need is a container in order create a menu area within Umbraco CMS:
The Menu Document Type: Following this pattern I also like to create a menu document type. The purpose of this document-type is to allow you to create many menus. In some projects, you could get away with not following this step, although I do not recommend it. If you want to create a header menu, multi-=language menus, a footer menu and whatever other menu, simply having one container document-type will not allow for this. Creating a menu document type will allow you to create as many menus as you want within this area in the CMS. We do this by creating a Menu Document Type. Like the menu container, the menu document type is a simple placeholder. The code for the menu container looks like this:
You will also need to update the menu container to allow MenuDocument types to be created as children:
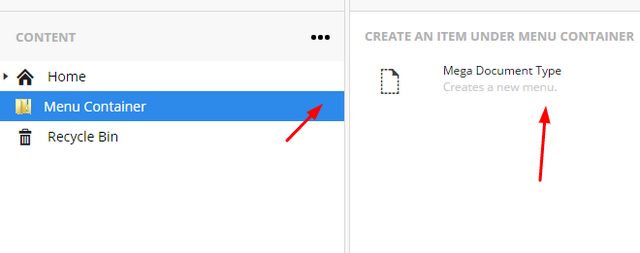
Go back to the Umbraco content section. You should now be able to create a menu area for the header, under the menu container:
Follow the normal process to create a page under the container:
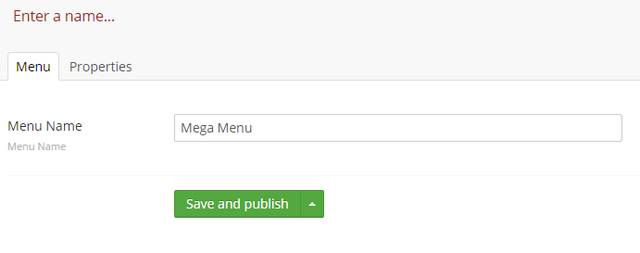
With this content created, we can now think about adding the menu meta-data.
Menu Item Document Type: Now we start to get to the interesting part. The next step is to create a menu item document-type. This will be the document-type that contains all the meta-data to render all the menu items:
The first property MenuTitle is the text that will be displayed for the menu item. Next, we define a property that will allow a content editor to associate a Url to be used with the menu item. Lastly, I define an image property. This will be rendered in the menu with the menu item.
We need to set the MenuDocumentType to allow MenuItems` to be created as child nodes, otherwise, you will not be able to create any menu items:
Menu Link: The final bit of code to write is the code to access the menu data. I usually add a property to the home-page document type, called Menu that links to the header menu. This way I can access the menu data easily by calling the home page. This is not the only way to access the menu data in code. There are a few ways to do this so if you know no better use this approach. If you prefer another way, follow the path that makes you happy 😊
With this change made, a content editor needs to go into the back-end, and, on the homepage, pick the header menu in the Menu property, then save and publish the page.
Sub Menu Document Type: The last document type we need to create is the submenu item, these are the sub-links that will be displayed under our main navigation.
The sub-menu document type will be used to create the second-level menu items, as shown below:
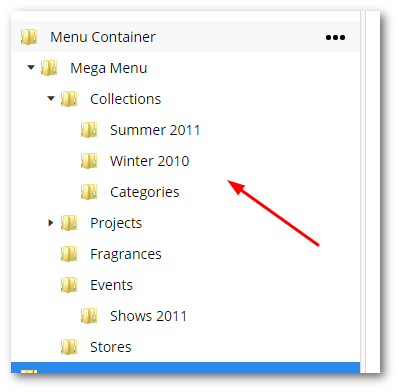
The next thing to do now is open up the Umbraco backend and add some menu data for us to render out, like so:
The HTML and the CSS: I recommend checking out the associated project to see this in full as it's quite complex. In the layout.cshtml, I added a reference to a file called Header.html. In there I then use the following HTML:
In order to create more complex menus in Umbraco, it's a good idea to create a separate section in your page hierarchy and define your own document-types to render out everything you need. On most projects, I'll usually use three document-types to define my menus. One as a container to store the menus, one document type to define the menu, and one document type to define menu items.
The code above can be quite hard to wrap your head around when reading it in a tutorial, compared to an actual project. To make life easier, I would recommend downloading this working code sample from my GitHub account, JonDJones.com.Umbraco.MegaMenu. You are now an Umbraco menu master, Happy Coding 🤘
