In this tutorial, you will learn about Umbraco Macros, what they are, and why they are useful. One of the main benefits of using a CMS, is the power it provides content editors. A CMS provides non-technical people with the ability to easily create web pages within a website without the need for a developer. A good CMS will also provide content editors with the capability to create pages with dynamic layouts. In order to create a dynamic layout, a content editor will need the ability to add components from a component library onto a page however they decide. This is where the Umbraco Macro comes into play. If you want to learn how you can give your content editors the ability to create dynamic pages within Umbraco CMS, read on 🔥🔥🔥
Macros can be thought of as components that content editors can add within a rich-text property. For each macro, you can associate parameters with it. When a content editor drops a macro into a text area, they can populate these parameters with data which you can then use when rendering that macro on a page. There are two types of macros in Umbraco, partial view macros (via code) and XSLT macros. It is best practice in V7, to use partial macros and this is the option we will explore in today's tutorial 😊
Creating a Macro
To create a macro you will need to create a view file. Add a new view with a .cshtml here:
Views ➡ MacroPartial
The view will need to inherit from Umbraco.Web.Macros.PartialViewMacroPage. The model type for a macro is PartialViewMacroModel. PartialViewMacroModel contains everything required to render the macro, including things like MacroName, MacroAlias, MacroId, and MacroParameters.
To access a macro parameter, within your view, you can use the MacroParameters property. Under the hood, MacroParameters is a simple dictionary, so you can add any key/value combo you want into it:
This covers most of the coding basics around macros, next let us cover how to create a macro within the CMS.
Creating A Macro In Umbraco
First, log into the Umbraco backend, click on the developer section. Click on the Macro tab and then click Create. In the Properties section, select MVC Partial view. From here select the view you created in the step above. From this screen, you can also add any parameters. You can create as many parameters as you need. For each parameter, you can add a Name, an Alias and its Type. The type can be either:
Content Type PickerMultiple Content Type PickerMultiple Media PickerMultiple Tab PickerMultiple Property Type PickerTab PickerProperty Type PickerSingle Media PickerNumericContent PickerTextareaTextbox
Adding A Macro Onto A Page
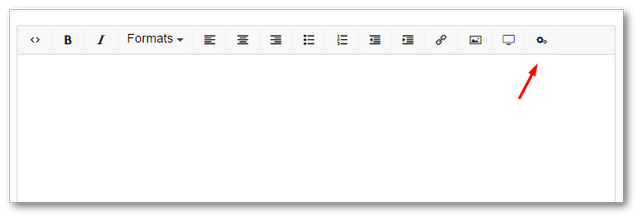
To add a macro onto a page within the CMS, go to the Content section. Either create a new page that contains a rich-text property or, locate an existing page that contains one. Within the text property, select the Macro icon:
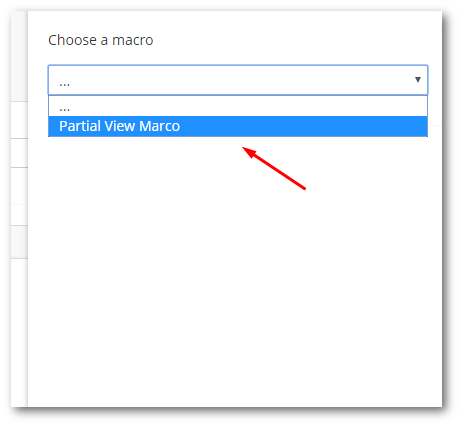
Select, the Macro you want to inject from the list that appears. Add in any parameters when prompted:
The next time the page is rendered, the macro will now be displayed. It's as simple as that 💥
You are now a Umbraco macro expert. You should hopefully now know how to create and implement a macro within your project. Macros can be useful to make your web pages more interesting. Let me know what cool macros you create in the comments section below. Happy Coding 🤘
