In this tutorial, you will learn all the steps required to create a sub-layout within Sitecore CMS and then add it onto a page. Adding functionality onto web pages is the core of all web projects. After installing Site this will likely be your first task. If you want to improve your Sitecore content modelling skills, read on 🔥🔥🔥
Creating The Sub Layout
Open the Sitecore editor. In the content tree, go to the Sub Layouts screen. This can be found here:
Layouts ➡ Sub Layouts.
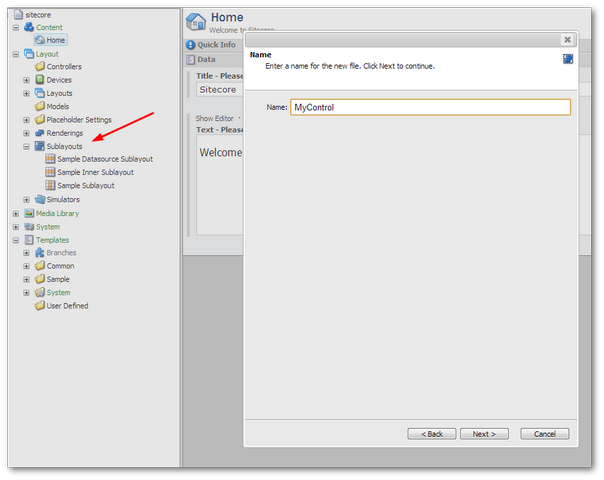
Right-click on the Sublayouts node and select Create New:
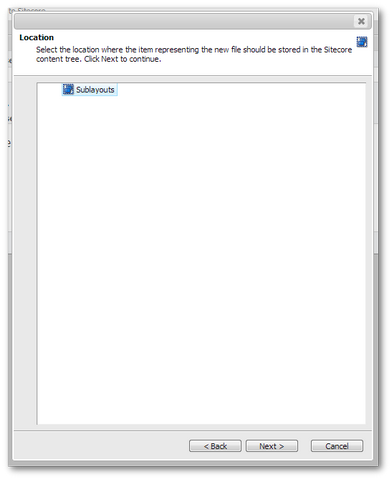
Select where we want the SubLayout to appear in Sitecore. If you need to create a lot of layouts, you should organize them using folders. In this example, I'm just going to create the layout directly in the Sublayouts folder:
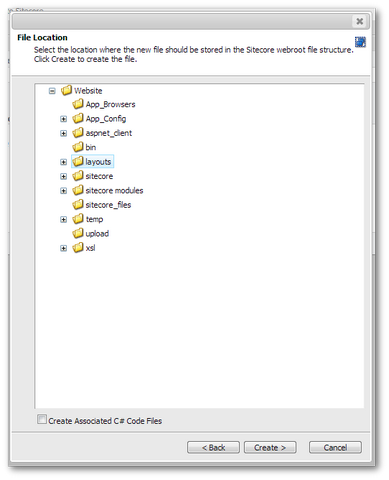
Next, you need to tell Sitecore where it should create the sub layout within your webroot. For reference, Sitecore will automatically create the sub layout as a user control. After you have created your control, it's time to add some text to it so we have a property to test against when rendering it on a page. To do this, open your solution in Visual Studio and navigate to your new layout file:

Add your HTML to this file. Remember, you need to wrap all the HTML within a global HTML tag otherwise, it will not render! The easy option is to wrap all the HTML within a single div 😕
Creating A Place Holder
In Sitecore, a placeholder is an area that content editors can drop components inside of. Think of a placeholder as a content area. We can add restrictions to the placeholder to only allow certain components to be added inside of it. You need to enable our sub layout to be created inside of a placeholder before it can be added onto a page:

To do this, in the content tree, go to Layouts node and right-click on Placeholder Settings. In this example, I'm only going to use this placeholder on the home page, so I will call it HomepagePlaceHolder:
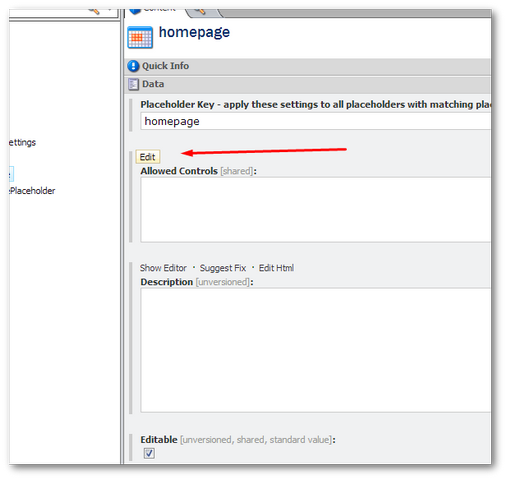
After you have created a new placeholder, we now need to add our Sub layout into the allowed controls list. Achieving this is straightforward. Within the Allowed Controls section, add it 😊. After you have the placeholder set-up, you need to add it to the Homepage layout.
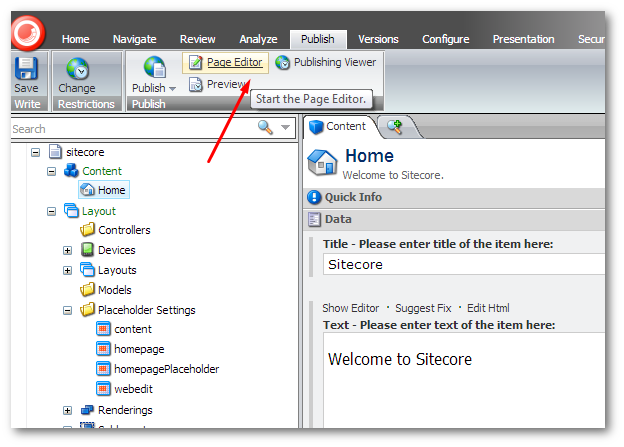
To add a placeholder to a page layout, add the key to the placeholder property. This is the set-up done 💥. You can now add a layout to the page. To do this, go to the home page in Sitecore and click Page Editor in the Publish section in the top ribbon:
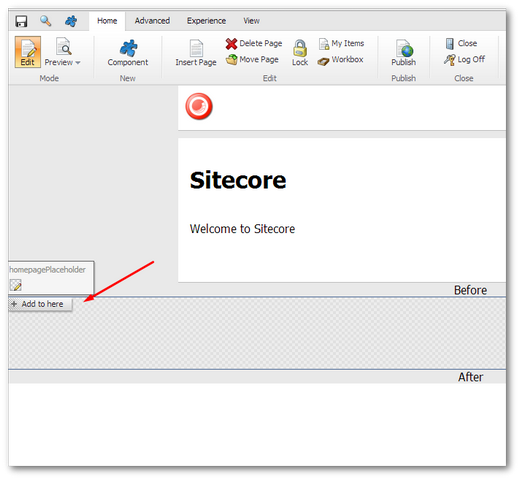
From the page editor, you should now see a placeholder area on your page. Click the Add to here button to add the control :
Add your control, like this:

You should see the control and its Html being displayed on the page
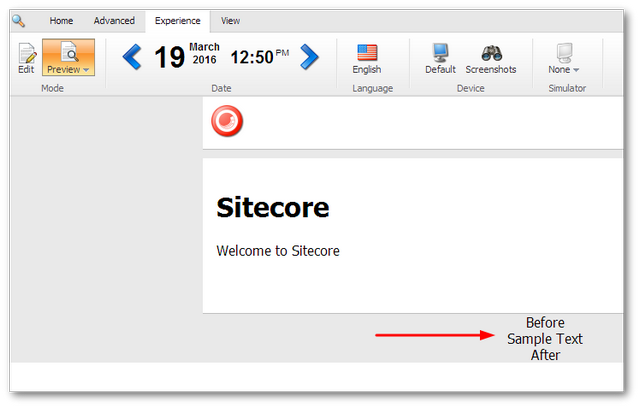
Job done 💥
You now know what a sub layout is within Sitecore and how it can be used to allow content editors to drag dynamic content onto their pages. To render sub layouts we use placeholders. A placeholder creates an area on a webpage where content editors can drag sub layouts. Happy Coding 🤘