In this tutorial, you will learn how to install and configure Team Development for Sitecore (TDS). TDS is a Visual Studio plug-in that can improve your deployment experience when building and maintaining a website using Sitecore. TDS can be used to improve your continuous integration process. It promises to do this by providing several useful features that Sitecore doesn't provide 'out-of-the-box'.
If you can fully automate your website deployment process, the more stable and reliable your releases will be. A stable and reliable process means the development team can work using a continuous delivery release cycle. Automation means developers can concentrate on code rather than repeatedly having to waste time deploying it. The more of your process that you can automate, the more you can improve developer productivity. If you want to learn how to be more productive with Sitecore, this is the tutorial for you 🔥🔥🔥
WHATS IS TEAM DEVELOPMENT FOR SITECORE?
TDS provides lots of great capabilities that will allow you to become more productive. These include:
Serialize Sitecore items so they can be stored in source control
Deploy your templates and Sitecore items via your deployment process, rather than manually having to create packages and install them on each environment
Package your work, including Sitecore items to be installed on other environments
Enabled Config Transforms
TDS does come with a price tag that may put off some companies. Each developer on your team will need a license and at $750 per developer, I would not consider it cheap. On smaller projects, the budget might not stretch this far, however, in the grand scheme of the project, the amount of time a developer can save will provide a greater ROI than trying to do something custom in-house. If you are unsure about TDS you can always download a 30-day evaluation copy for free from here. After signing up, you should receive a zip file in your email with the installation files, unzip the file on your computer:
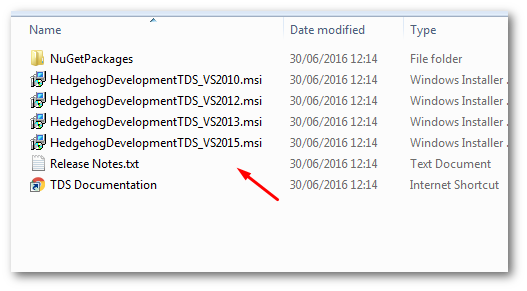
Run the installer for your version of Visual Studio
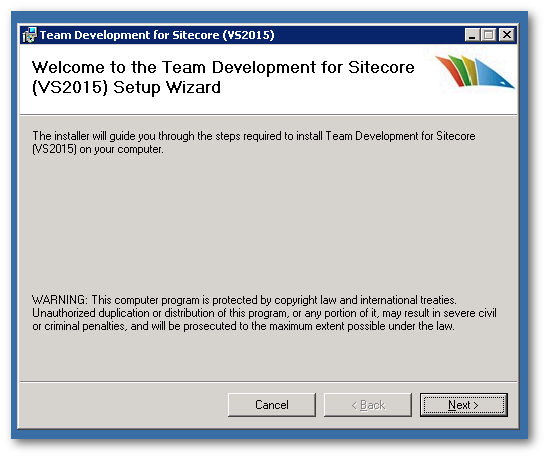
Click on the 'Next': button:
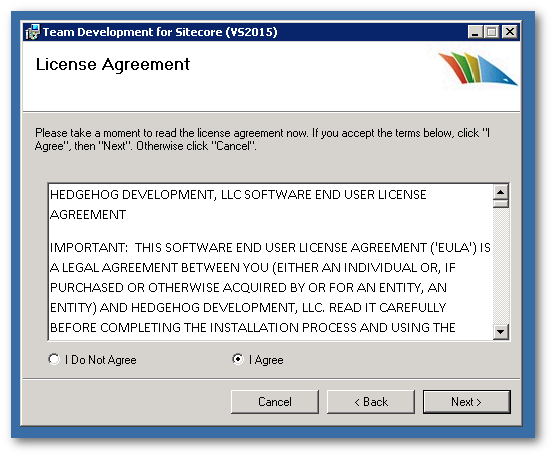
Agree to sell your soul and agree to the T&C's:
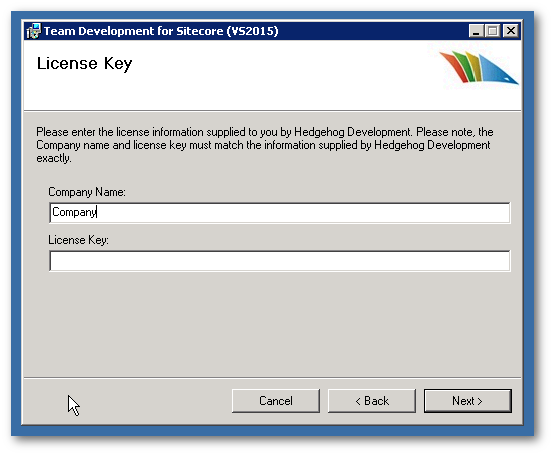
Add in your license information if you have it (otherwise leave blank)
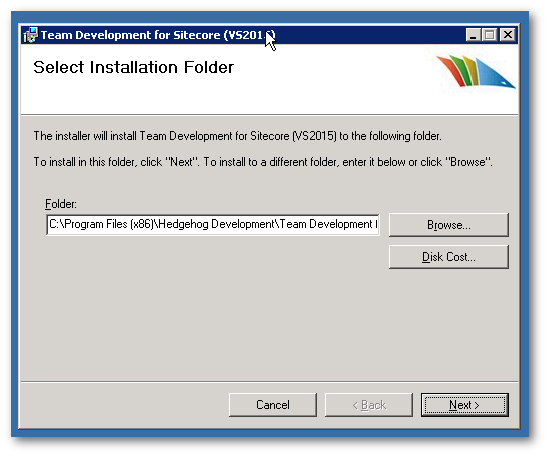
Add in the installation location:
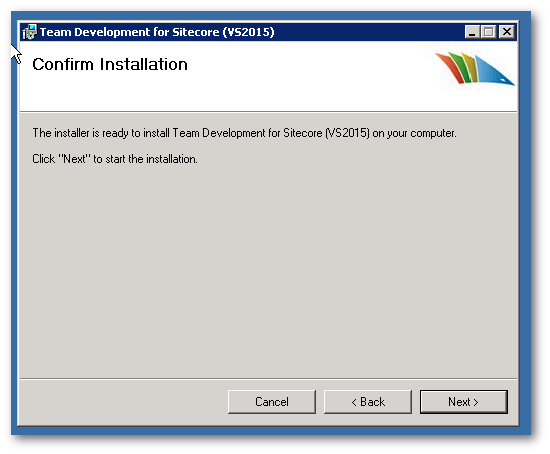
Click on the Next button. You now have TDS installed, job done 💥.
Getting TDS Installed On Your Project
After TDS has been installed, it's time to configure it so it works with your Sitecore website. You will want to create a TDS project per database within your Sitecore instance. This means that typically you will create 3 TDS projects (depending on how you structure your project). You will need to create one project for Master and another one for Core.
Creating a TDS project is very similar to creating a normal class library in Visual Studio. Open your solution in Visual Studio, in Solution Explorer right-click on your solution to get the context menu up. From the menu select:
Add ➡ New Project
This will load the new project screen:
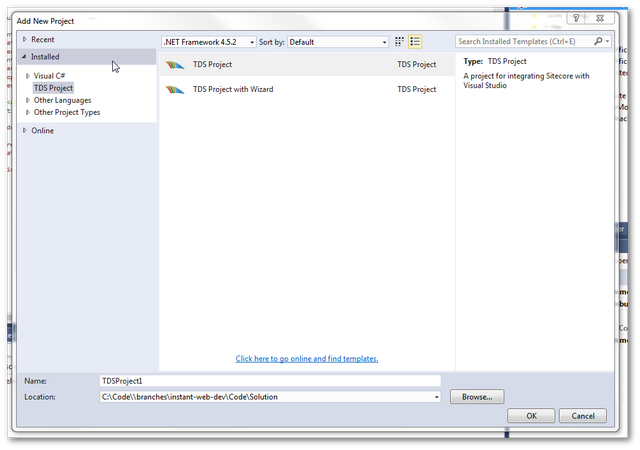
In the Installed section on the left, you should see an entry called TDS Project, select that and choose TDS Project. Call it Project.Namespace.Master and click OK:
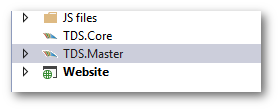
In your solution, you should now see your TDS project. It's time to configure it. Right-click on the project to open the context menu up and select Properties:
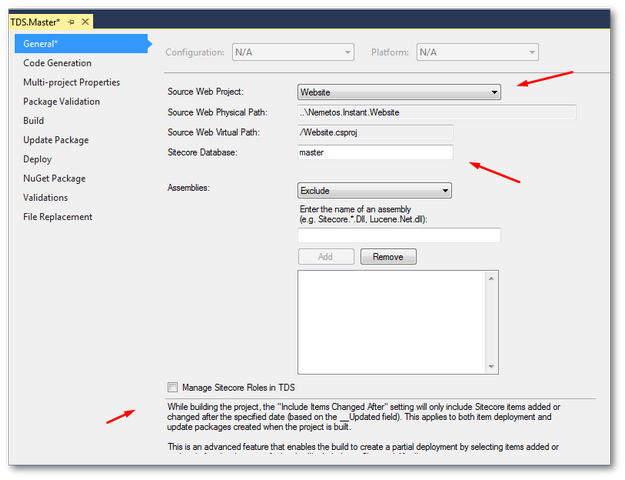
Within the General tab, you need to configure several things.
Select your webroot in the
Source Web ProjectIn
Sitecore Databasepick a database, usuallyMaster, or,Core
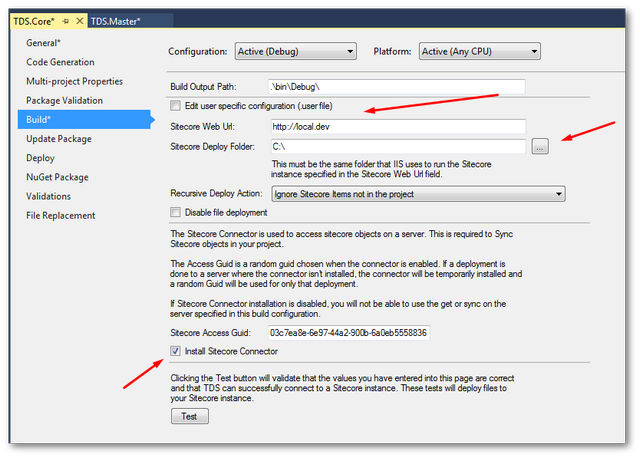
In the Build tab, you also need to configure a few things:
Add your local dev website Url in
Sitecore Web UrlSelect your websites dev publish folder in
Sitecore Deploy FolderEnable the
Install Sitecore ConnectorcheckboxClick the
Testbutton to make sure you haven't messed anything up.
If this goes OK, TDS will be able to establish a connection with your dev website! This remote connection is how data items are copied from your server to an external server!
Serialising Items
To get up and running quickly with TDS, right-click on your TDS project to open the context menu:
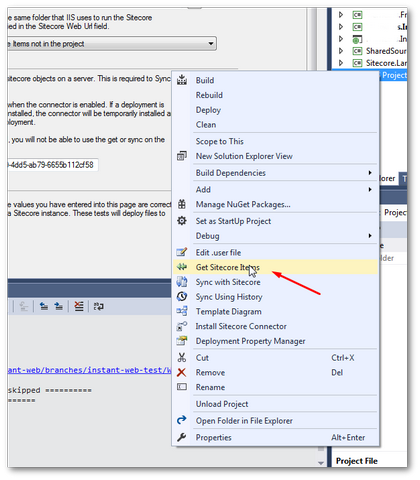
Select Get Sitecore Items:
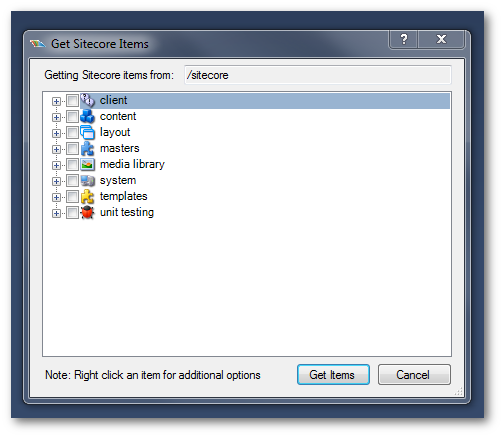
A dialogue should now load with your Sitecore tree displayed. Next to each item, you can add a tick in the corresponding checkbox. Selected items will be serialized to disk within your TDS project. You can then commit these files and publish them in your deployment process. TDS can then read these files remotely and import them. TDS makes the process of moving items created within your dev environments a lot simpler. TDS comes with lots of features, you can learn more about them here 😊
You are now a TDS wizard 🧙. You can install TDS and configure it like a BOSS. Happy Coding 🤘